Batch Generate Steps
We’ve seen how to make steps one at a time, but if you’re trying to set up a new model from your mine history that’s a lot of tedious work. Batch step generation gives us options to create many steps at a time. We just need a method to match dates to individual surveys or survey layers.
In the batch generation process, there are different methods to associate mining dates with geometry:
- Option A: Attributes on surveys
- Option B: From dated surveys
- Dates in the survey names or folders
- CSV file containing survey names and dates (e.g. stope blast times)
- Nearby blasts from the blasts database
- Option C: From Dates Lines (not covered yet in the documentation)
Option A - Dates from Survey Attributes
If your surveys have date attributes, for example in Deswik, then you can use these directly in the From Survey Attributes window.
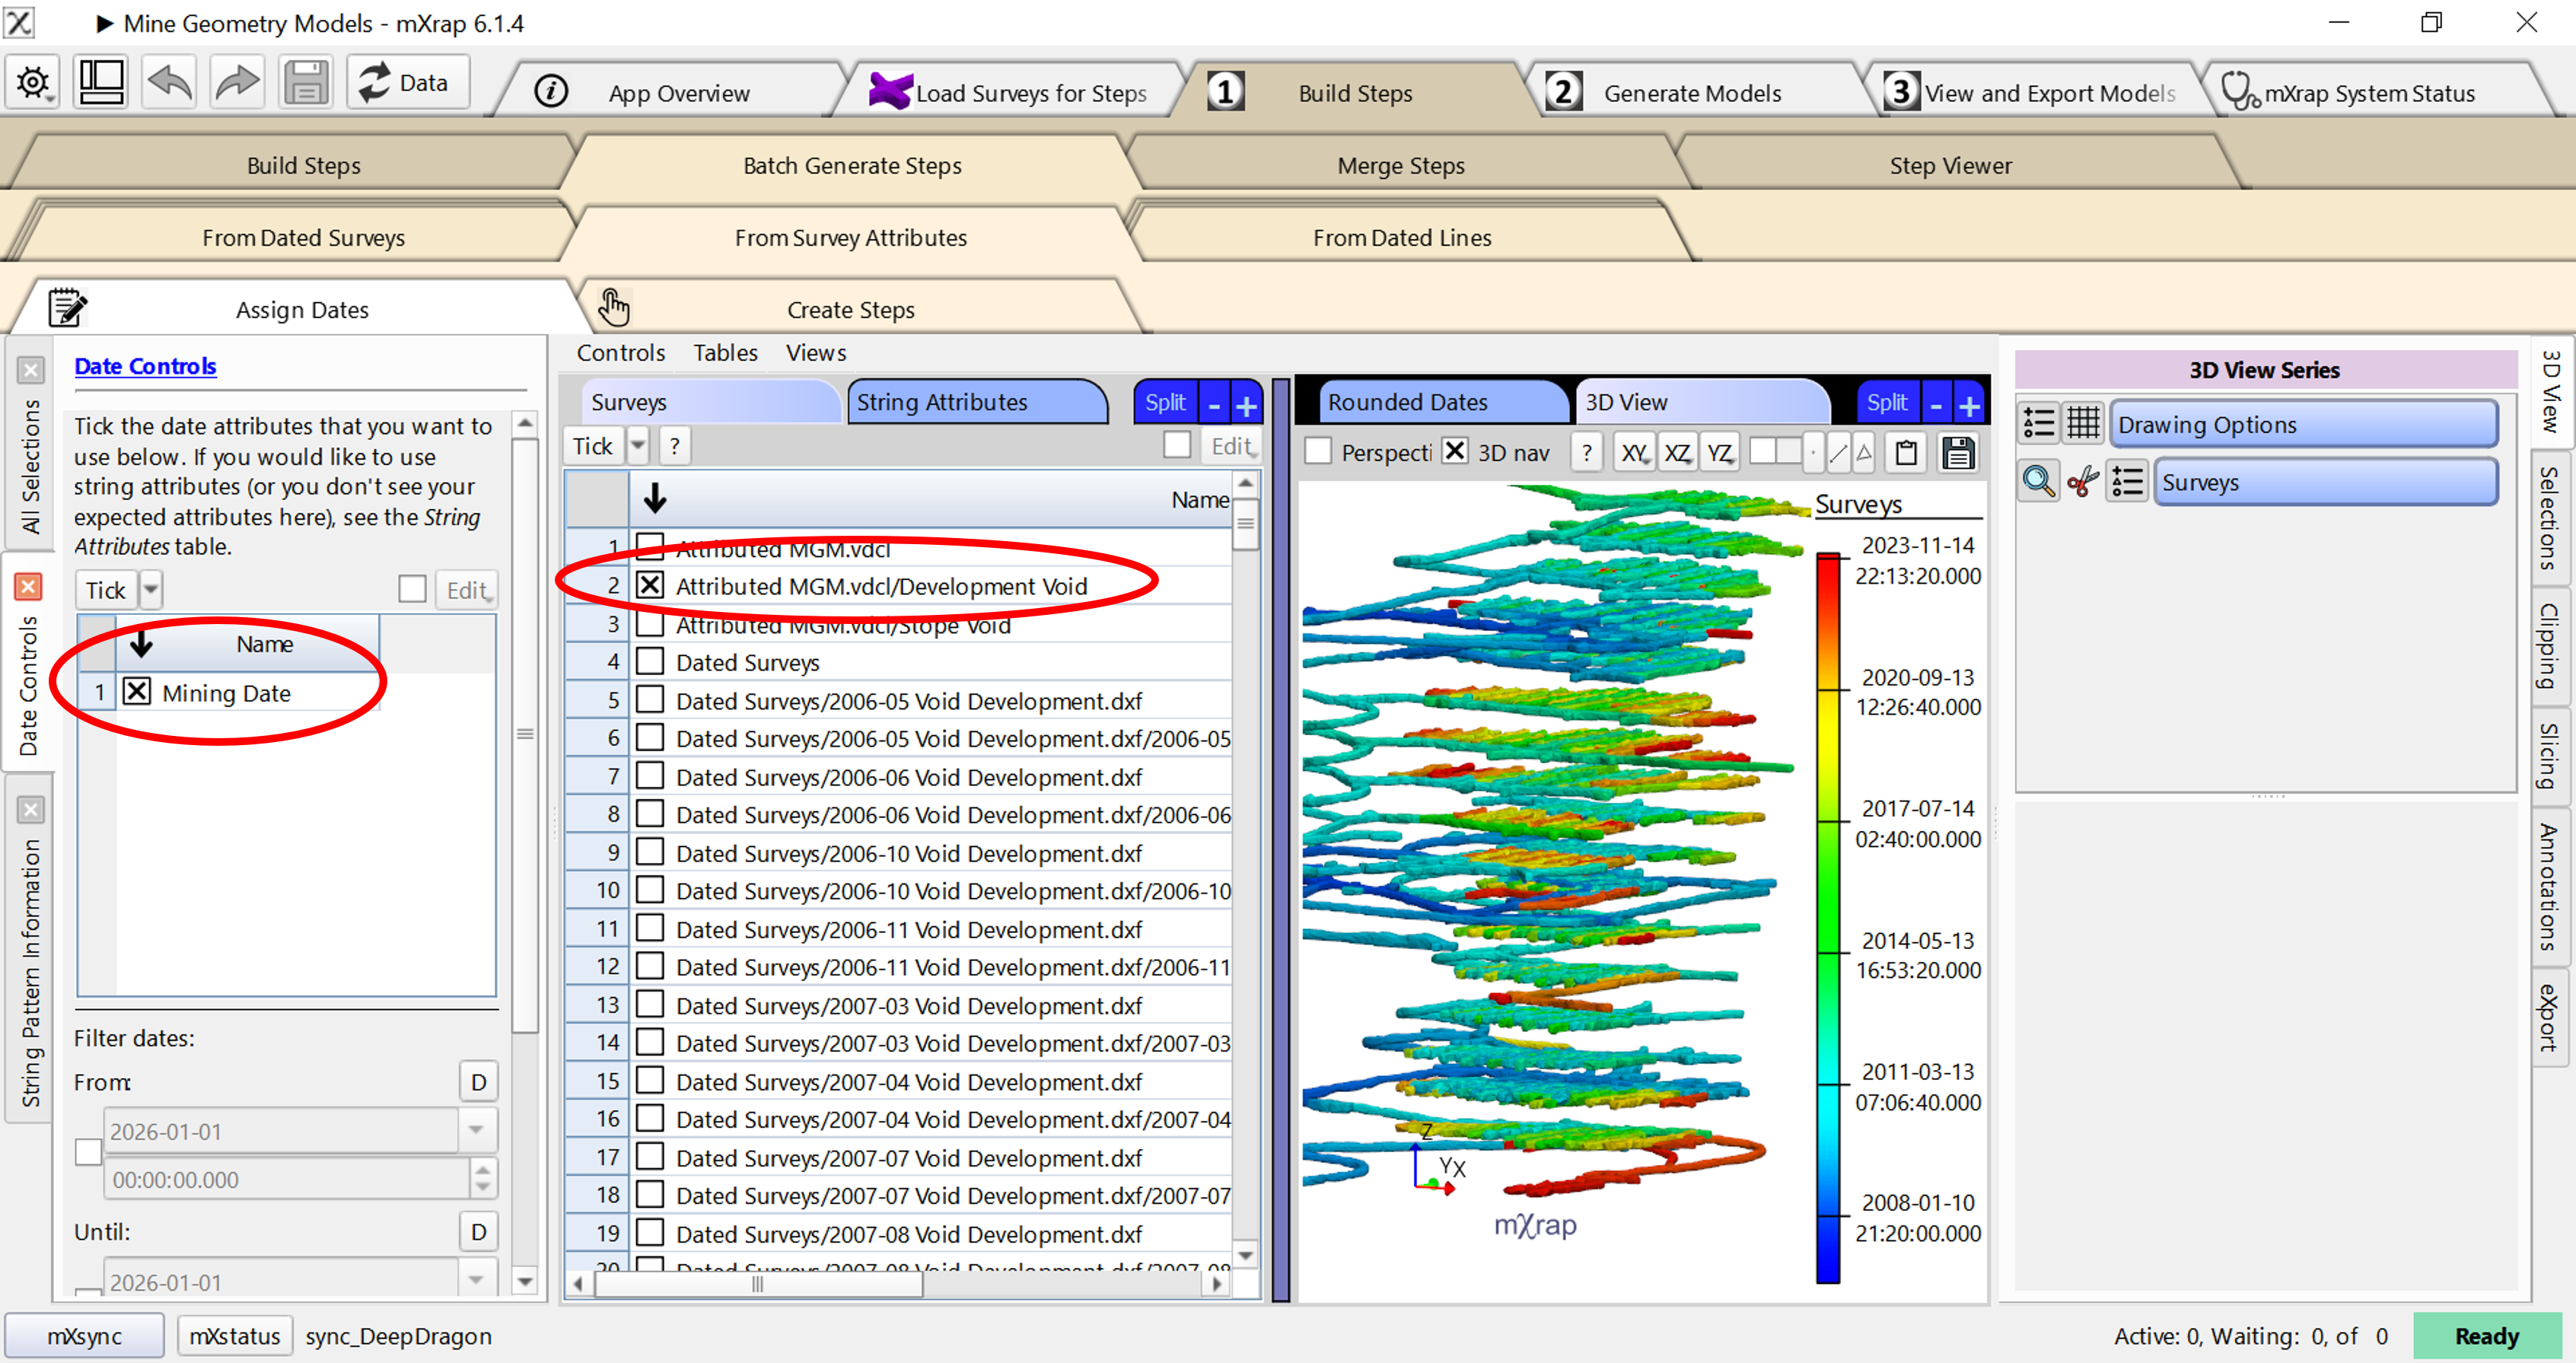
Step A.1 : Assess the date
- First, tick the surveys you want to use.
- Then tick the date attributes to use in the left.
- Optionally set a rounding on the dates, or filter the range which you want to use (e.g. if you only want to generate new steps since the last time you updated your model).
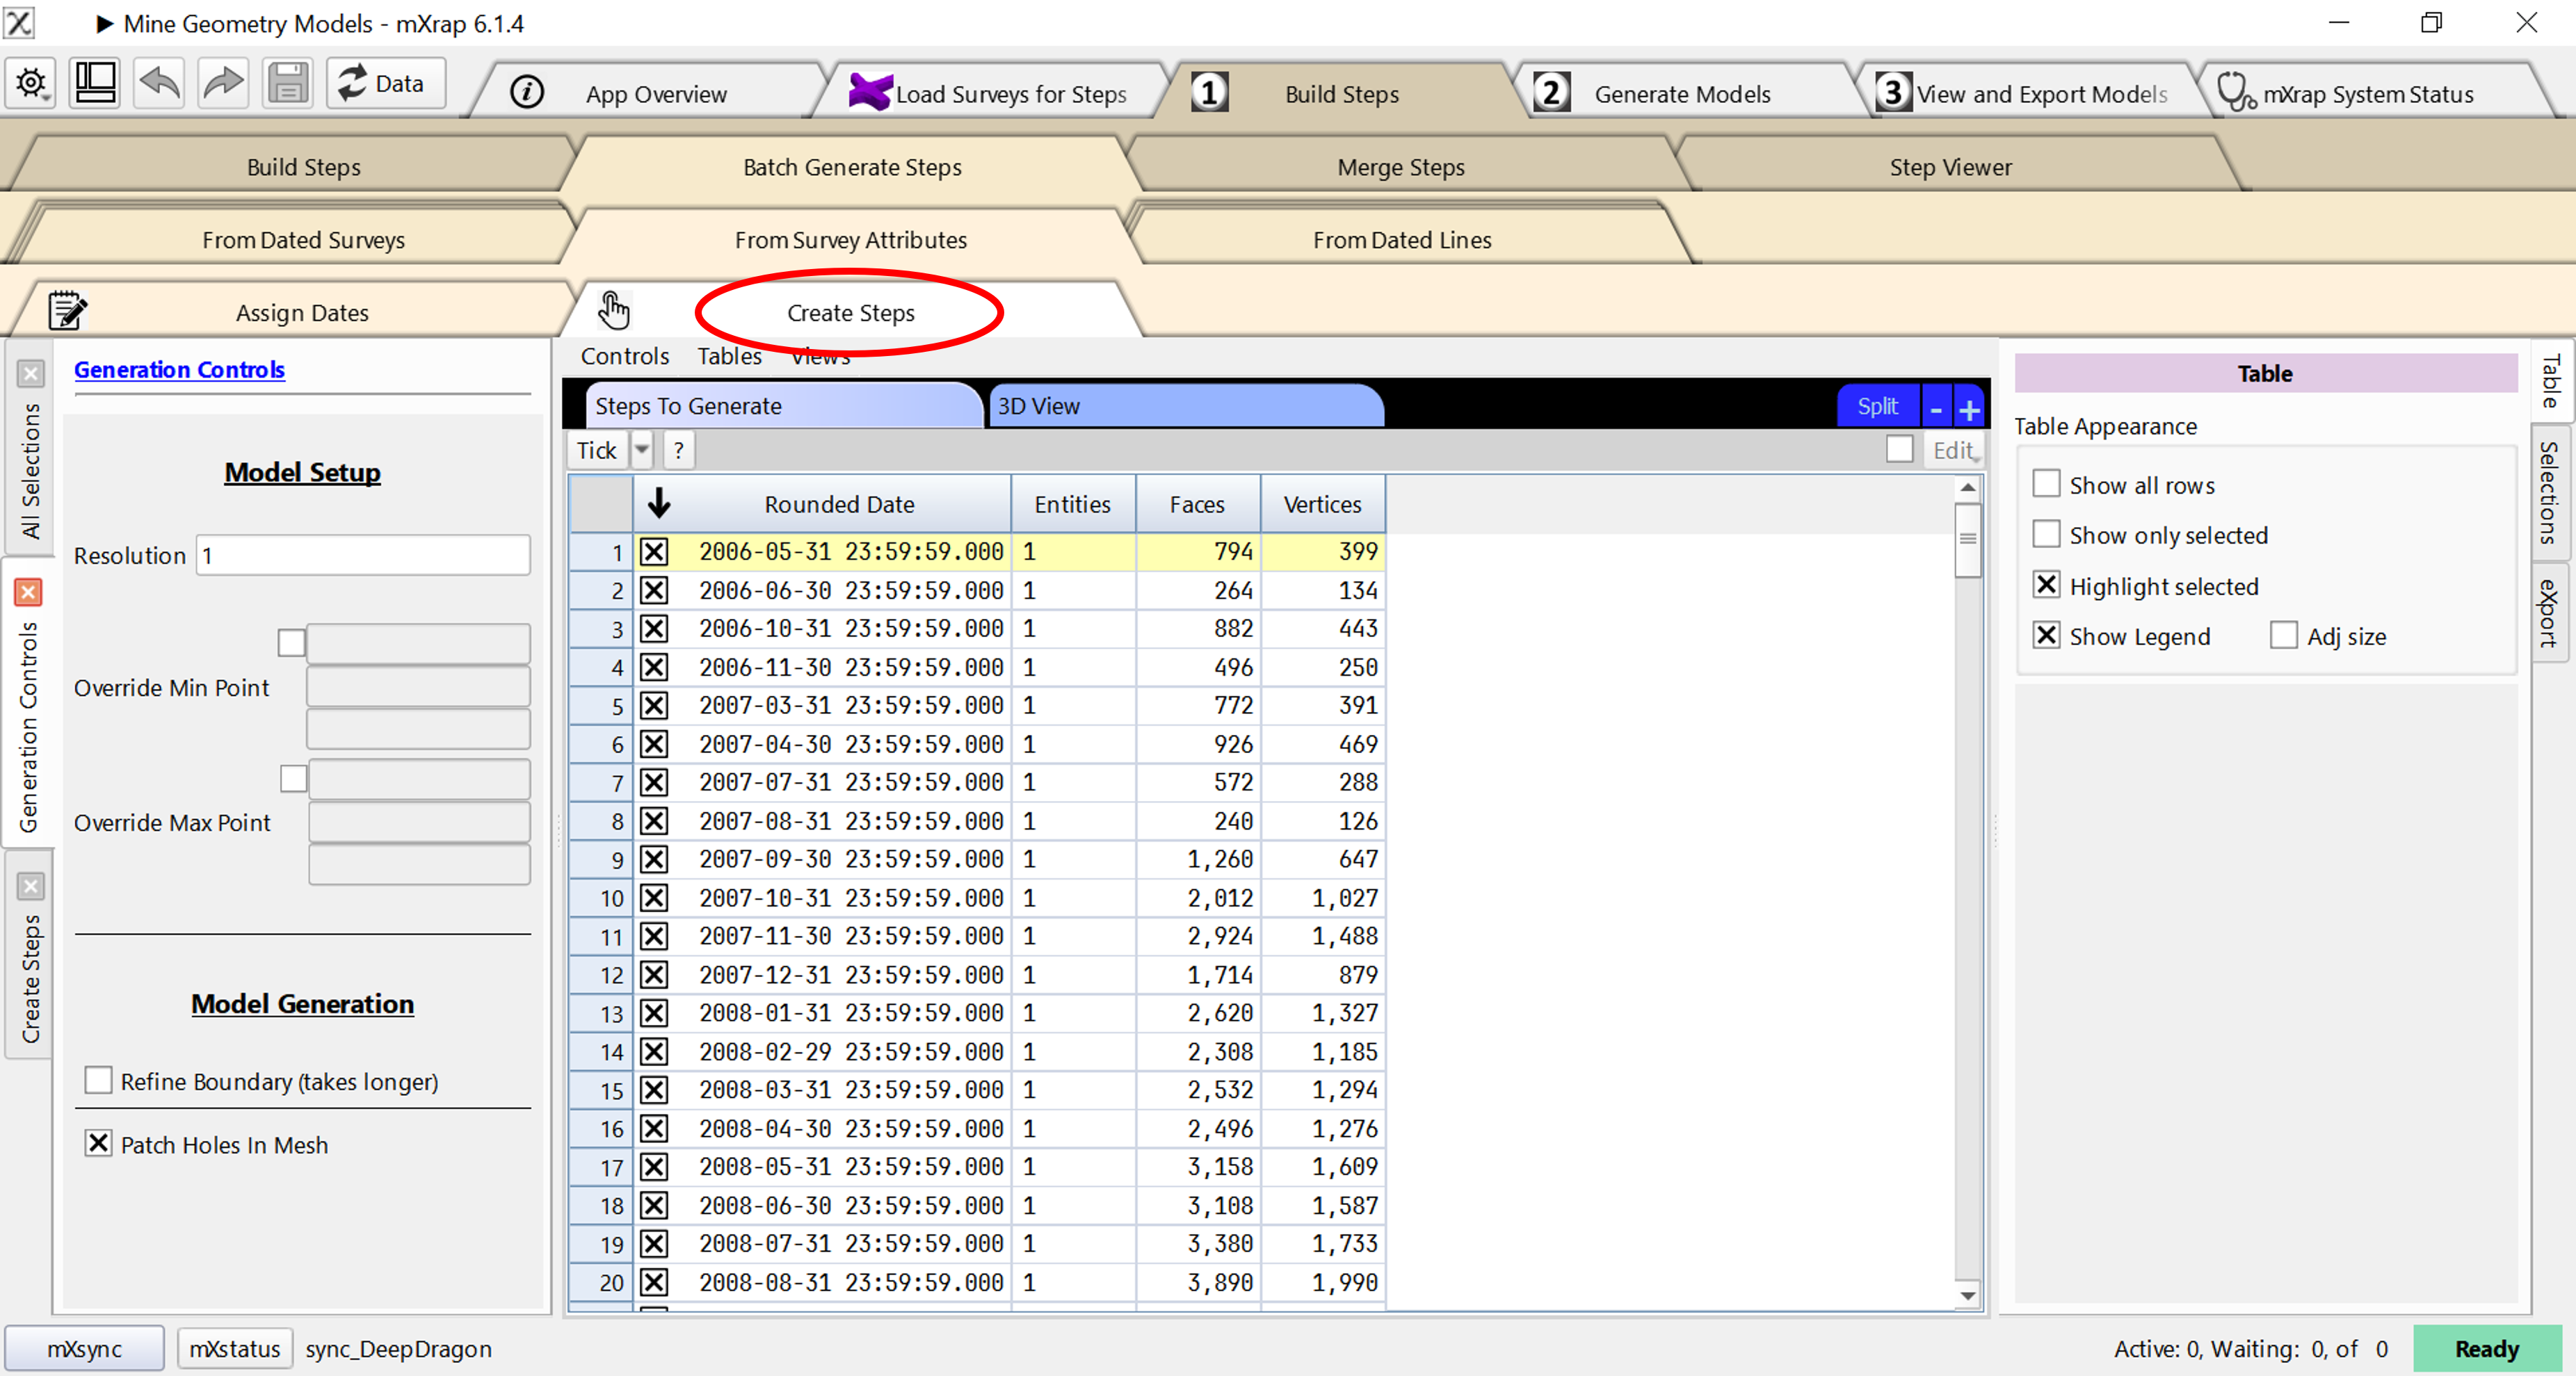
Step A.2 : Set the resolution, type, and material of each steps
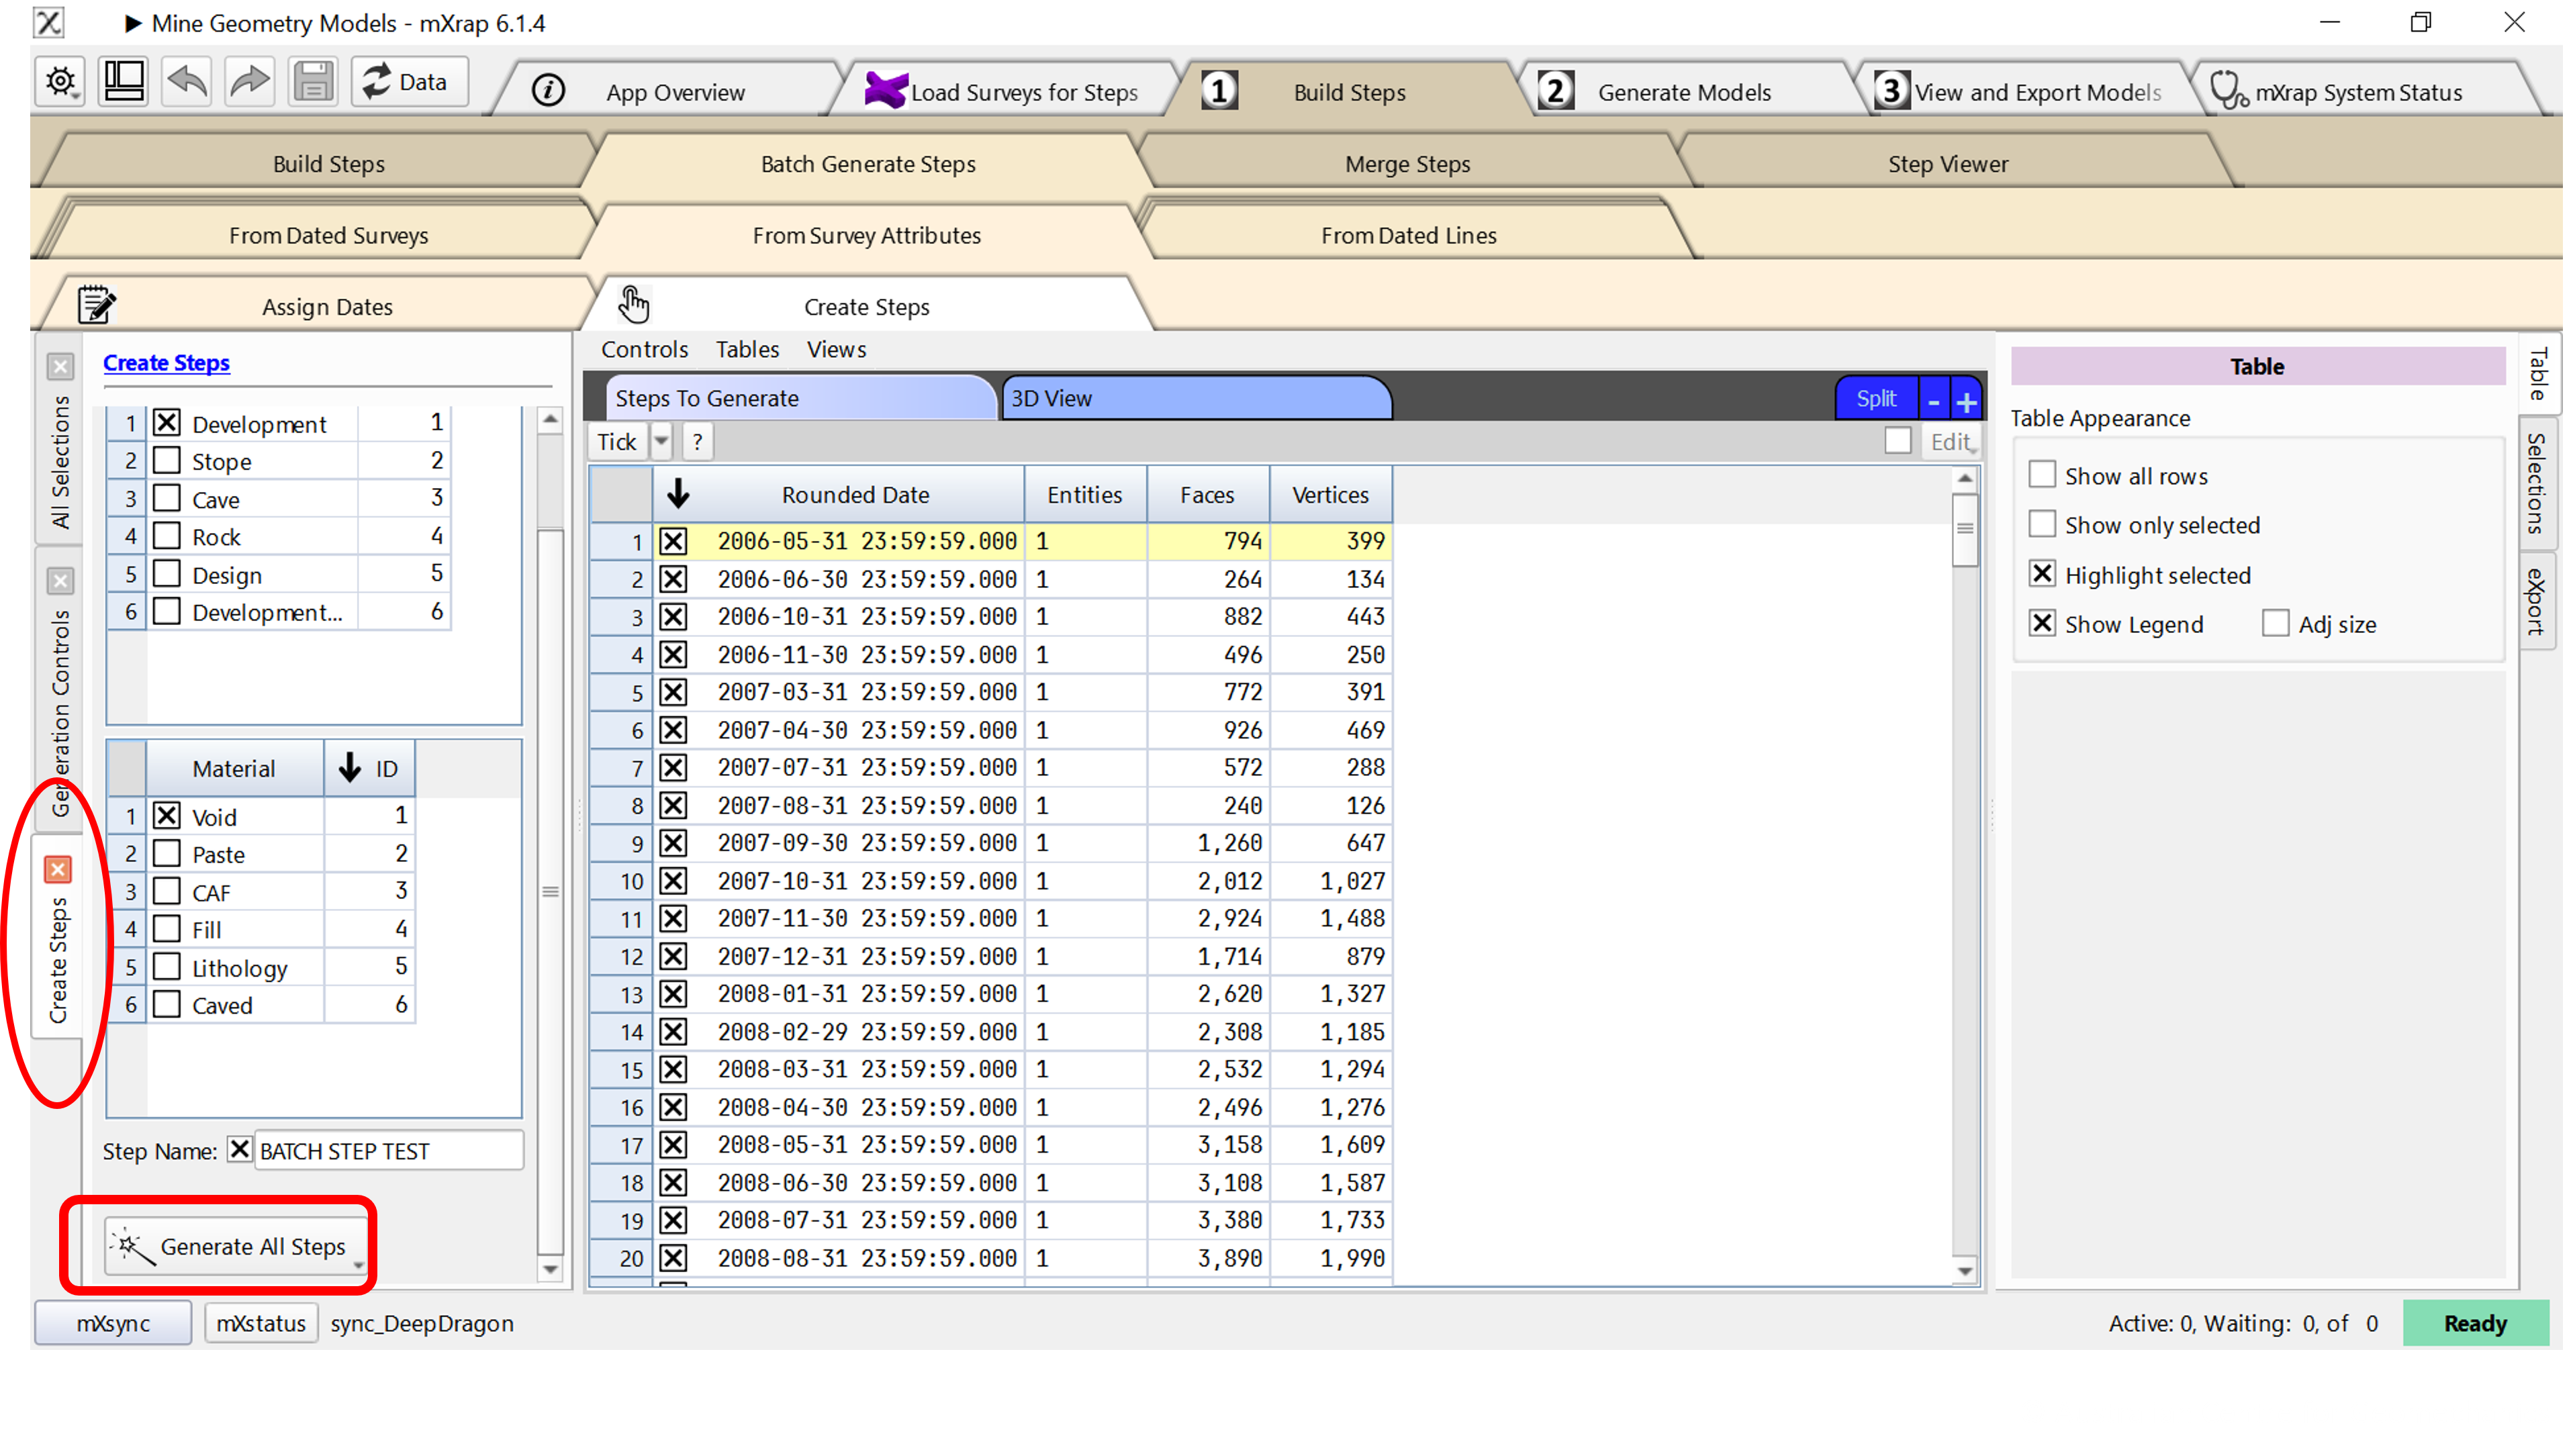
- When you are satisfied with the dates, go to the Create Steps window and set the resolution, type, material, and then click Generate All Steps (in the Create Steps panel).
Step A.3 : Create the step
- Then go and do something else for a while as the steps generate.
Option B - Dates from Dated Surveys
Step B.1 : Assess the date
Go to the Build Steps -> Batch Generate Steps -> From Date Surveys window.

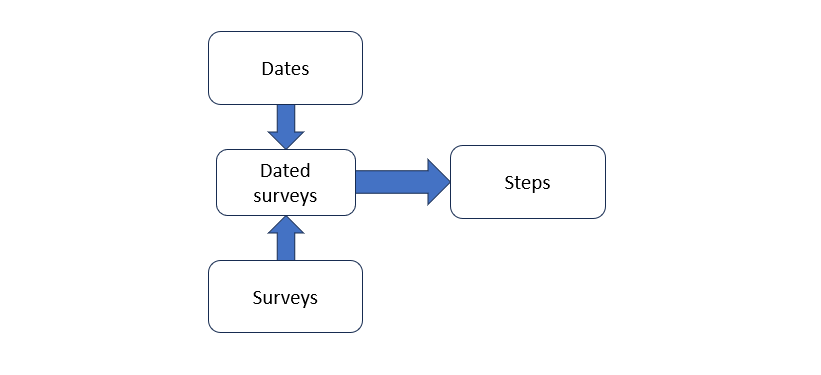
A combination of different dated surveys can be used
- Dates from CSV file containing survey names and dates
- Dates from Survey Names
- Dates from nearby blasts from the blasts database
Dates from CSV file containing survey names and dates (e.g. stope blast times)
Not covered by documentation yet
Dates from Survey Names
To use dates in the survey names or folders, we go to the Dates From Survey Names window.
- Specify patterns that tell the system how to read the mining dates from our survey file names and their priority. These patterns are entered into the Date Patterns table at the top of the screen.
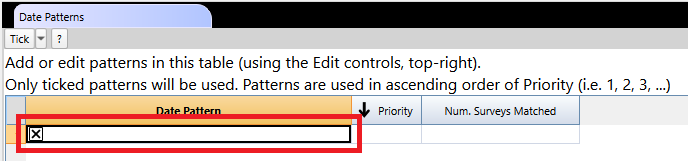
The control panel on the left of the screen has detailed information about the different options available in the patterns. The patterns use special placeholders to indicate where a component like the year or the month is found, in this case (YYYY) is the placeholder for a four-digit year, and (MM) is the placeholder for a two-digit month.
If your surveys are organised into folders, you can use a forward slash to indicate the folder structure. For example if you had folders for each year, and then folders for each month inside those, you could specify the pattern as: (YYYY)/(MM)
Priority allows you to prefer one pattern over another, if you have mixed patterns in your survey names. For example, if some of surveys included the day, they might match both our year-month pattern and a year-month-day pattern. Priority would allow us to choose the year-month-day pattern in preference.
If you already see information in the tables, then this option has previously been used with your root folder.
After you have entered your date pattern (ensure that you press the enter key when you have finished typing), you should see a list of surveys with matched dates in the bottom table.
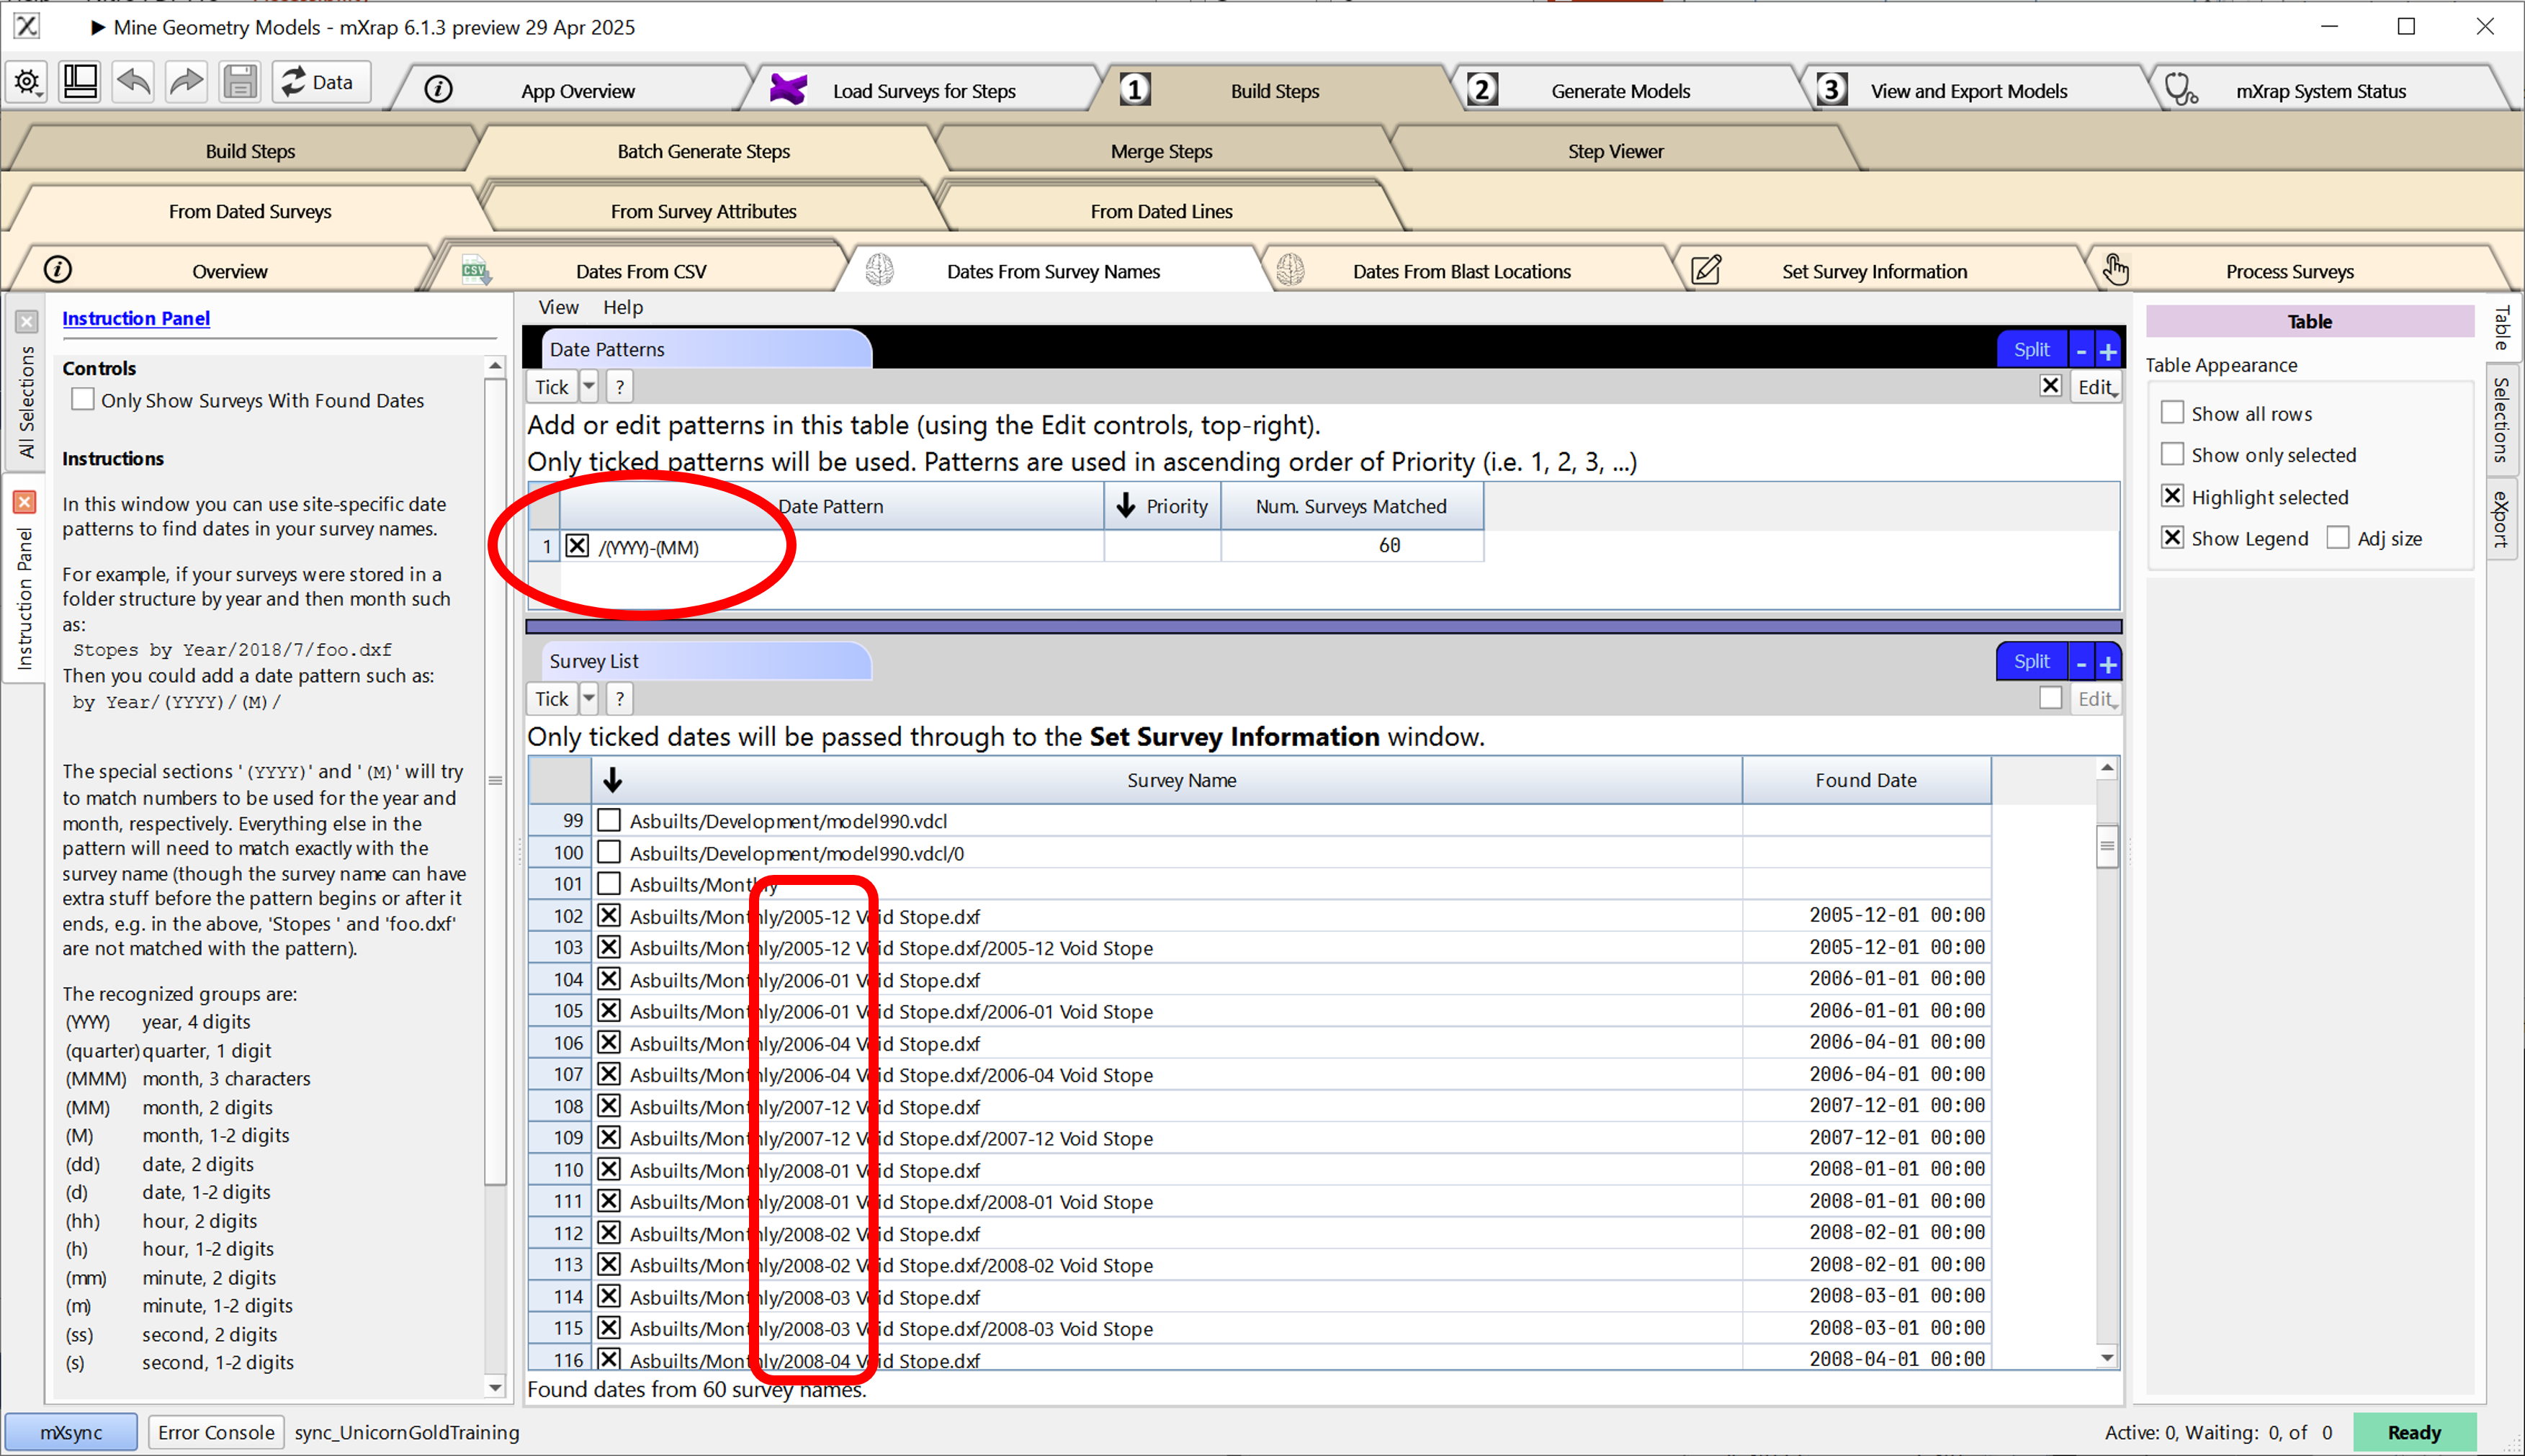
- Verify the date interpreted: The Found Date column shows the mining date as it has been interpreted by the system with your date pattern.
- If there are any dates which are invalid or that you do not want to include, you can untick the survey file in this table to remove it from the final list of dates.
If you want to check the names of all your surveys, for example to check for surveys which are not matching the date patterns, then you can untick the Only Show Surveys With Found Dates option in the control panel.
Dates from nearby blasts from the blasts database
- To use the dates from nearby blasts, we go to the Dates From Blast Locations window.
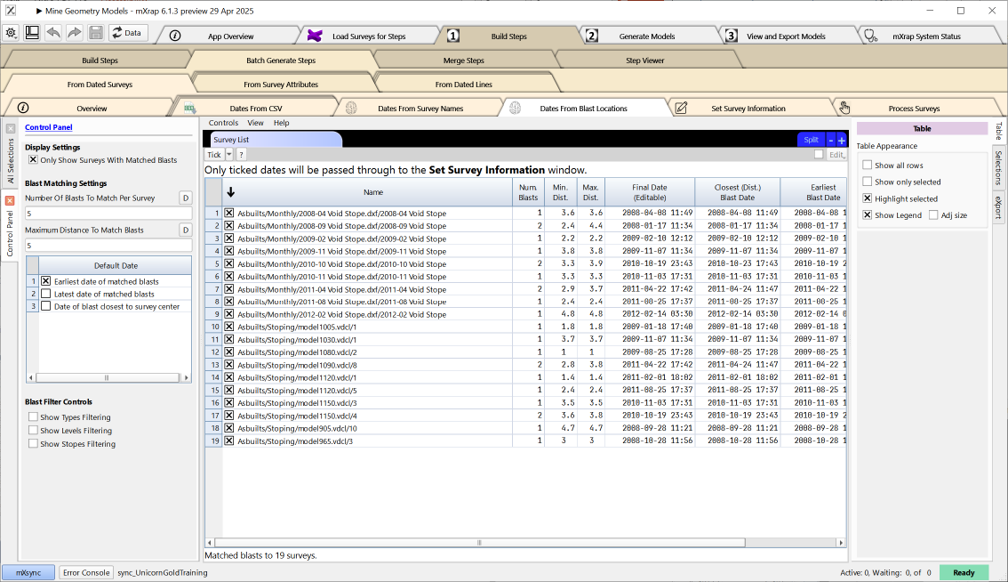
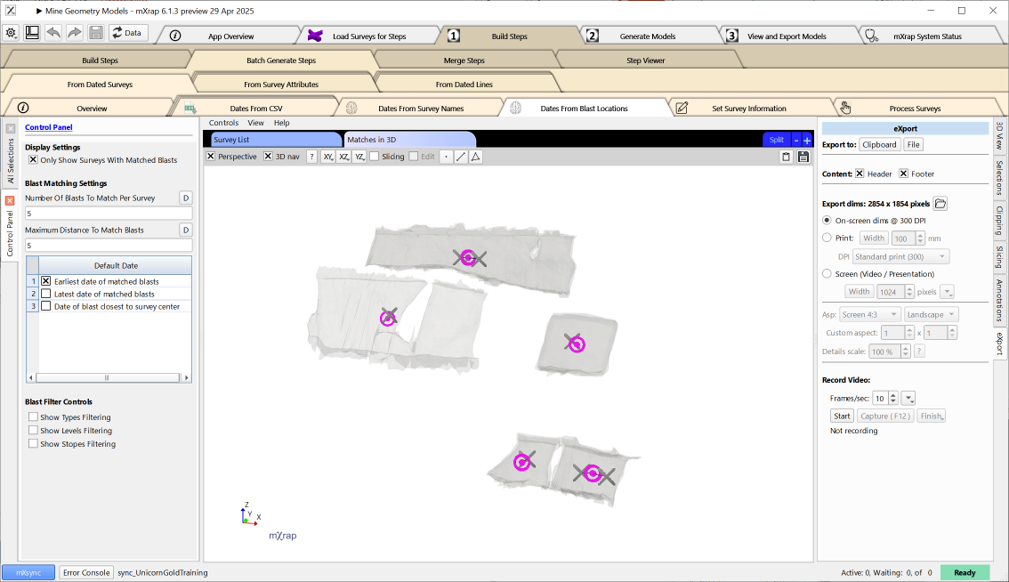
- Review the blast-survey matches in the 3D view. If a survey matches to multiple blasts, you can choose to use the earliest date, latest date, or date of the closest blast.
Blasts are matched to the survey centroid, so ideally you would have individual surveys for each stope, or each stope would be a different layer in the survey.
The controls on the left allow you to control the maximum distance to search for blasts around the survey centroid, and the maximum number of blasts to find.
You can also filter the blasts table, e.g. to only include stope blasts.
Step B.2 : Set the date, resolution, type, and material of each steps
When you have dates for all of the surveys that you want to use, continue by clicking on the Set Survey Information window. In this window you will see all the survey files that have any mining dates associated with them (from dated surveys)
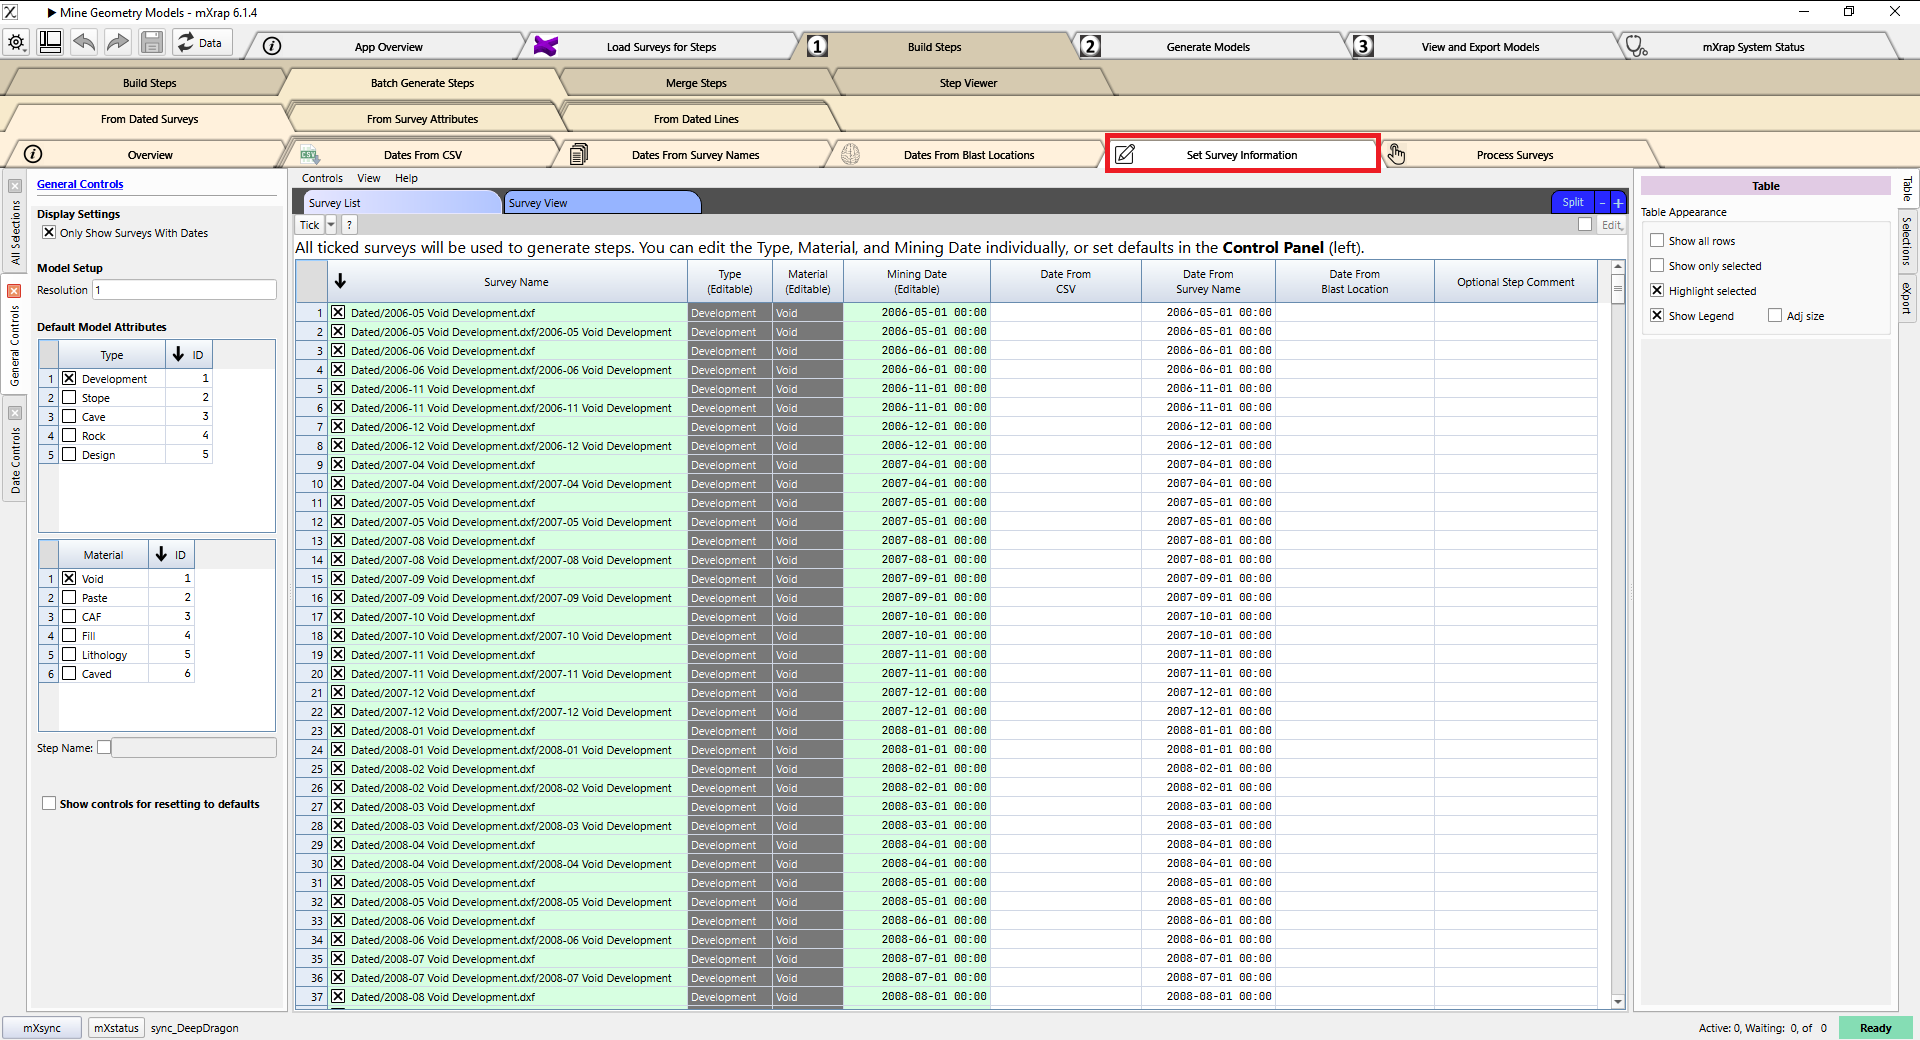
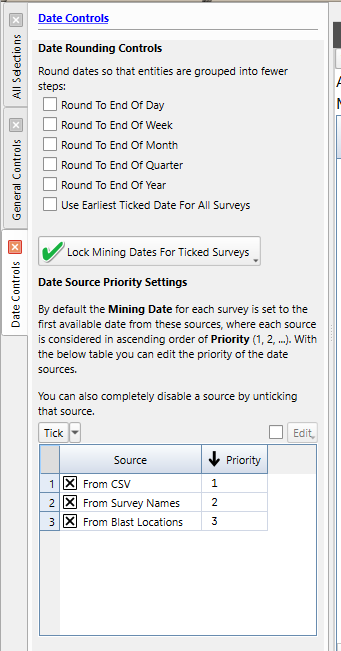
- Verify the dates (rounded, sources)
In the Date Controls panel on the left you have options to round the dates, which can be useful to avoid having many steps for slightly different times, e.g. when using blast times.
All the date sources options are ticked per default. Do not forget to untick a source which you do not want to consider.
- Set the step resolution, the default step type, the default material type, and a step name/comment that will be applied to all of the steps in the General Controls panel,
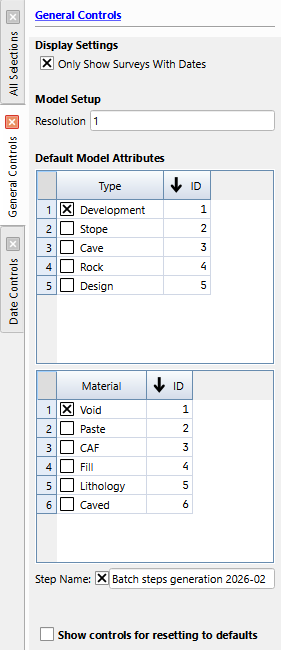
Setting the step name is highly recommended as it will make it easier to manage your step library in the future.
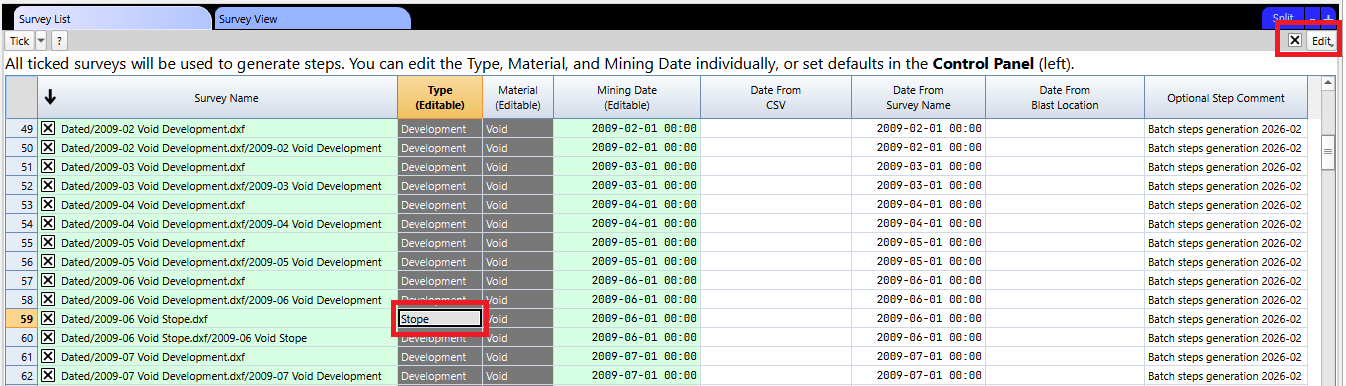
- Review the final survey details in 3D
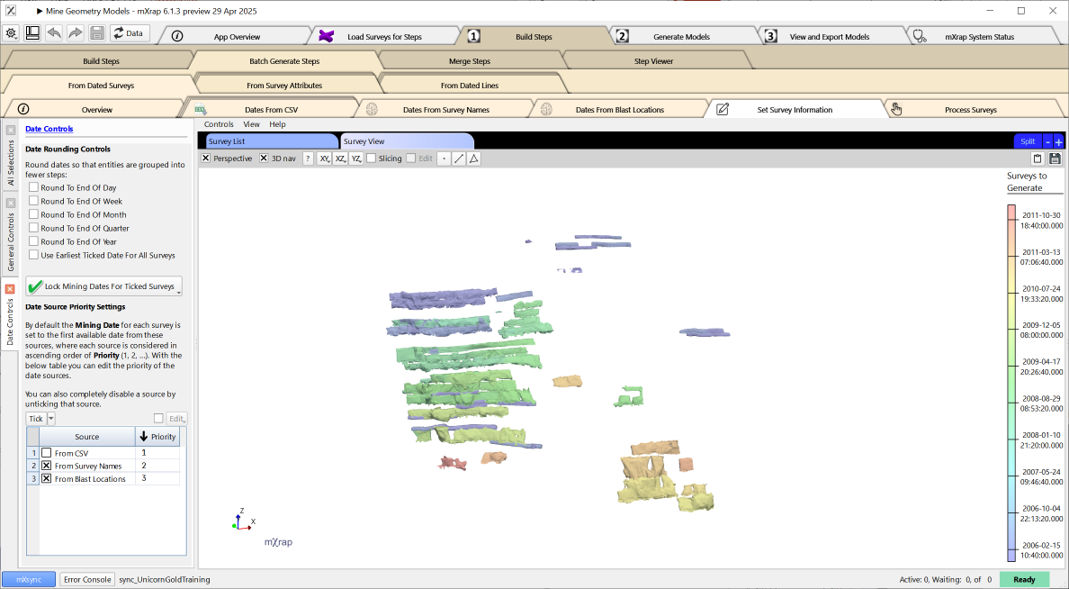
Step B.3 : Create the step
- When all of your survey information is correct, proceed to the Process Surveys window.
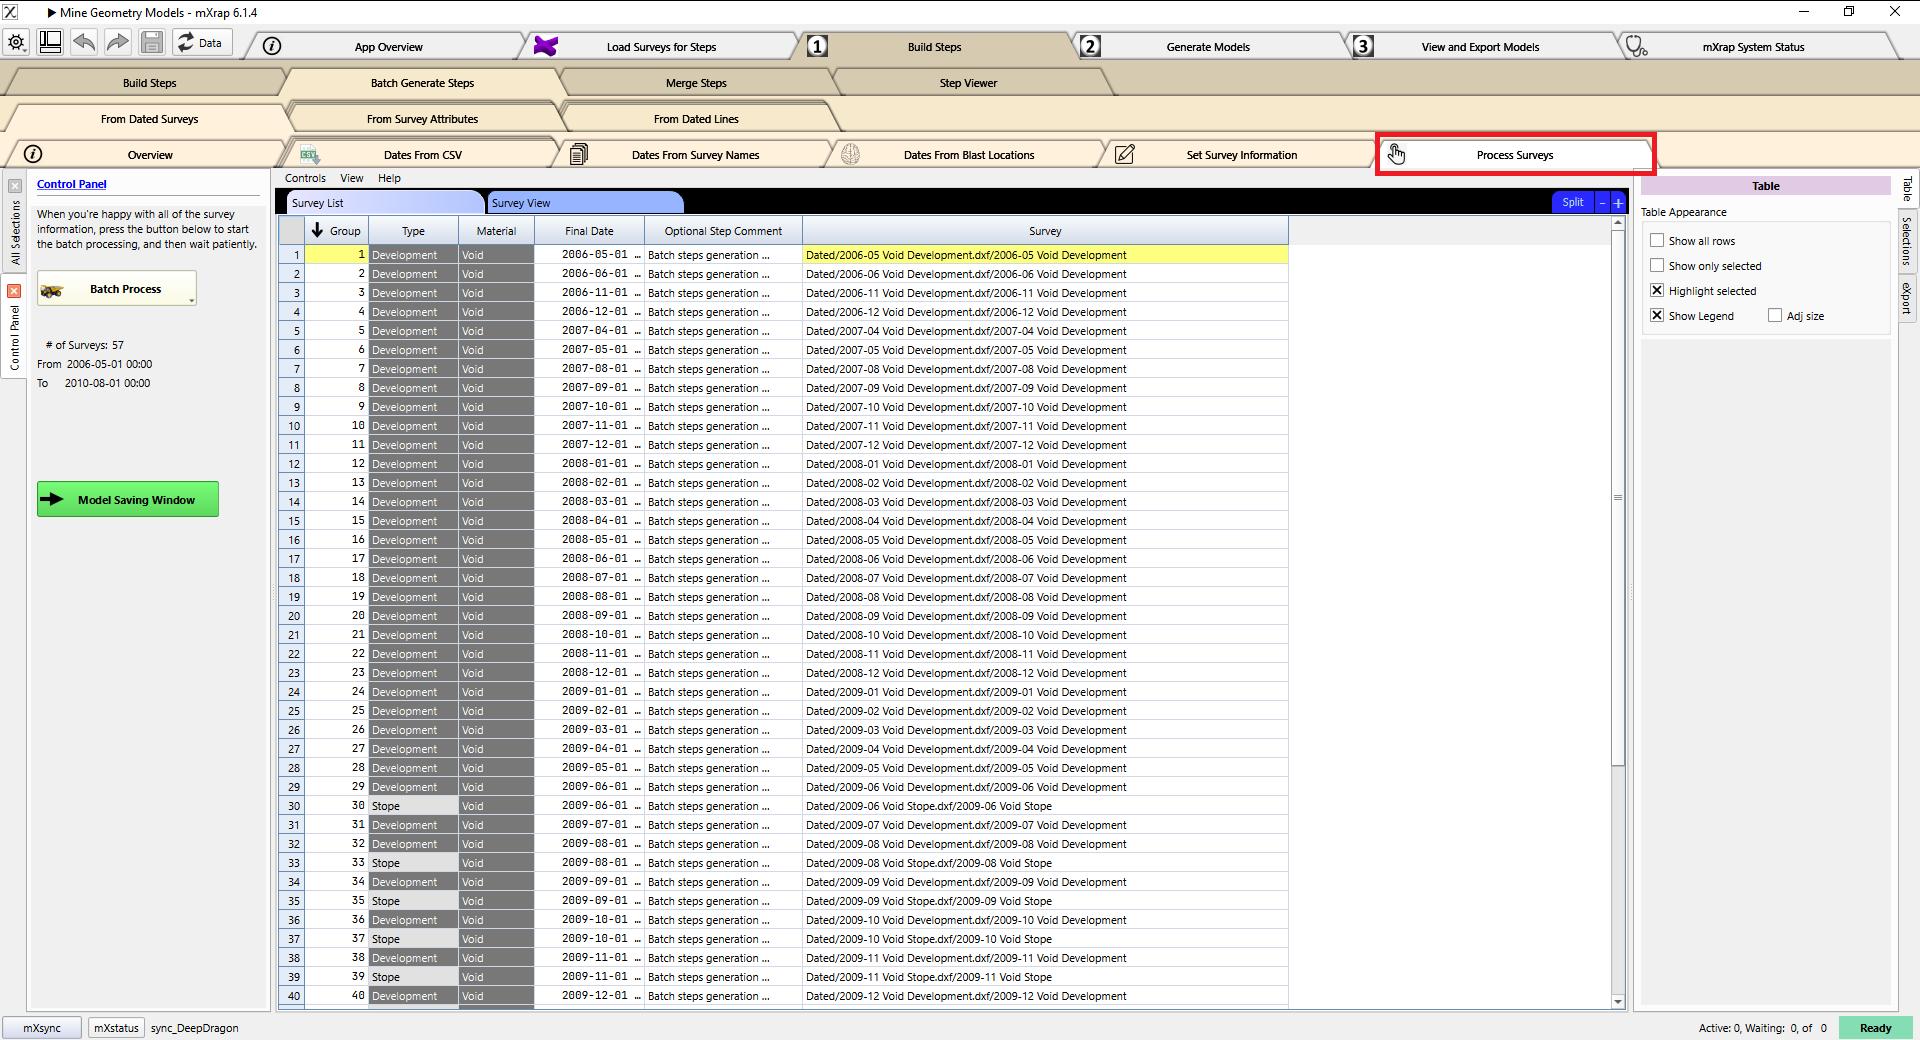
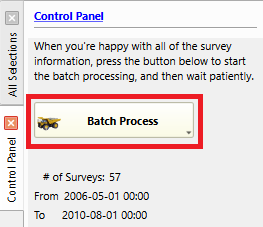
- Click the Batch Process button in the control panel to begin the processing of generating steps for all the surveys.
Surveys with the same type, material, and date will be grouped together into the same step.
Now it’s time to leave the app alone while it works (do not close it!). The table will show completed surveys in green, and the current survey that it is processing in yellow. You can let it run in the background while you use other mXrap apps or other programs. When it is finished, you should be able to see all of your new steps in the Step Viewer window.
Go to the 'Generate Model Window' (Merge Steps) for the next step!